You As A Machine

Bed Stretches #1

These are the stretches that I do first thing

in the morning.

First thing – after I spend what seems like moments coming to the realization that it’s morning and I have to get up, but really it’s more like ten minutes of denial and futile attempts of turning back the clock or finding the elusive pause button.

I have put together a little video (first in a series) to demonstrate this very short in-bed-stretching routine that may or may not be right for you, but never-the-less, it can give you an idea of the possibilities, which might give you a place to start exploring your own options. The point is to do what feels right for your body – not what feels right for mine! It was probably six months of just doing the first three exercises before I added the fourth and a few months after that before adding on the fifth and sixth. Let your body be your guide.

NOTE: These Bed Stretches are meant to be a very gentle way of waking up the body. In no way should this routine be considered a workout or performed aggressively. I repeat, they should be done very gently. Keep knees bent, this is not a performance routine and knees should remain bent, even if you can straighten them during the day when you do the same type of movement.

Also Note: That when I filmed myself doing these stretches it was already afternoon and my body was very warmed up. First thing in the morning I do NOT move as fluidly; my body feels very rickety and stiff, besides feeling half asleep. Sometimes, I take the stretch and fall back asleep for a few seconds in the stretch! And abruptly wake up – oh, yeah – where was I?

This first video demonstrates the first two stretches/exercises that I do upon waking. I am demonstrating on the floor…you didn’t really think that I would show myself stretching in bed, did you?!

It’s just a nice way to start my day.

“The Best Advice I Ever Got”


Robert Shiller: The best advice I ever got

Interview by Ellen Florian, contributor@FortuneMagazineDecember 2, 2011: 2:15 PM ET

Robert Shiller, the man who spotted the two biggest bubbles of this century warns not to get swayed by celebrity.

FORTUNE — “My father, Benjamin Shiller, told me not to believe in authorities or celebrities — that society tends to imagine them as superhuman. It’s good advice. People are snowed by celebrities all the time. In academia people have this idea of achieving stardom — publishing in the best journals, being at the best university, writing on the hot topic everyone else is writing about. But that’s what my father told me not to do. He taught me that you have to pursue things that sound right to you.

“In 2004, when I wrote the second edition of my book Irrational Exuberance, I said in the preface I was worried that the boom in home prices might collapse, bring on bankruptcy in both households and businesses, and lead to a world recession. I remember thinking that this sounds kind of flaky — nobody else is saying this, I can’t prove it, this could be embarrassing. But I had learned from my father not to care what other people think. This was my book, and I believed this, so I just said it.”

Robert Shiller Age: 65

Job experience: Yale University economist; author; co-creator of S&P/Case-Shiller home price indices; co-founder and former chief economist of financial tech firm MacroMarkets; co-founder of Case-Shiller Weiss (now Fiserv Case-Shiller)

Claim to fame: Author of bestseller Irrational Exuberance; spotted both the Internet and housing bubbles early on.

This article is from the December 12, 2011 issue of Fortune.

BEST Turkey Soup Ever!

The BEST Homemade Turkey Soup Ever

from Ginny Love’s

Simply Love – A Family Cookbook

 “Some people roast turkey at Christmas just so they can eat turkey soup a few days later.” – Ginny Love

Yup, that would be me!

Kitchen Supplies:

  • Large Soup Pot w/ lid
  • measuring cups
  • strainer/ sieve
  • cutting board
  • knife
  • garlic press

Ingredients:

  • 1 – 2 diced onions
  • 2 – 3 peeled & diced carrots
  • 2 – 4 diced celery stalks
  • 3  Tbsp. melted unsalted butter (I used Ghee)
  • 12 Cups homemade Turkey broth
  • 1 – 2  pressed or minced garlic cloves
  • 2 – 3 Cups chopped turkey meat
  • 1/2 – 3/4 Cups uncooked Rice or Barley
  • Salt & freshly ground pepper for taste
Because I was making two batches of this soup at the same time I cut up more vegetables.
I make one batch with barley and a second with brown rice to be gluten free.
If you like more heartiness in each spoonful, as opposed to mostly liquid
then you’ll have to experiment with quantities for yourself.
Keep a record of how many cups of each diced vegetable, chopped turkey and grains
you use so you’ll know for the next time around.

Pressed garlic.

Heat pots on medium.

Once pot is warm add unsalted butter or Ghee.

As butter begins to melt, add diced carrots, celery and onions.

Saute until soft. Below.

Once softened, add pressed or minced garlic. Above.

Let garlic cook for a minute or two before adding the stock.

[I added 14 Cups stock to my large pot and

10 Cups stock to my smaller pot.]

While the homemade turkey stock comes to a boil (above)

chop the turkey meat (below).

I divided the meat for my two batches:

4+ Cups for the large pot w/ Barley

2+ Cups for the smaller pot w/ Rice

This is the rice I used.

 Once the stock comes to a boil, turn down heat to a simmer.

Add the grains and meat.

 Add 1/2 Cup Brown Rice (rinsed and drained).

[I added the rice to my smaller pot.]

 Pot barley.

or

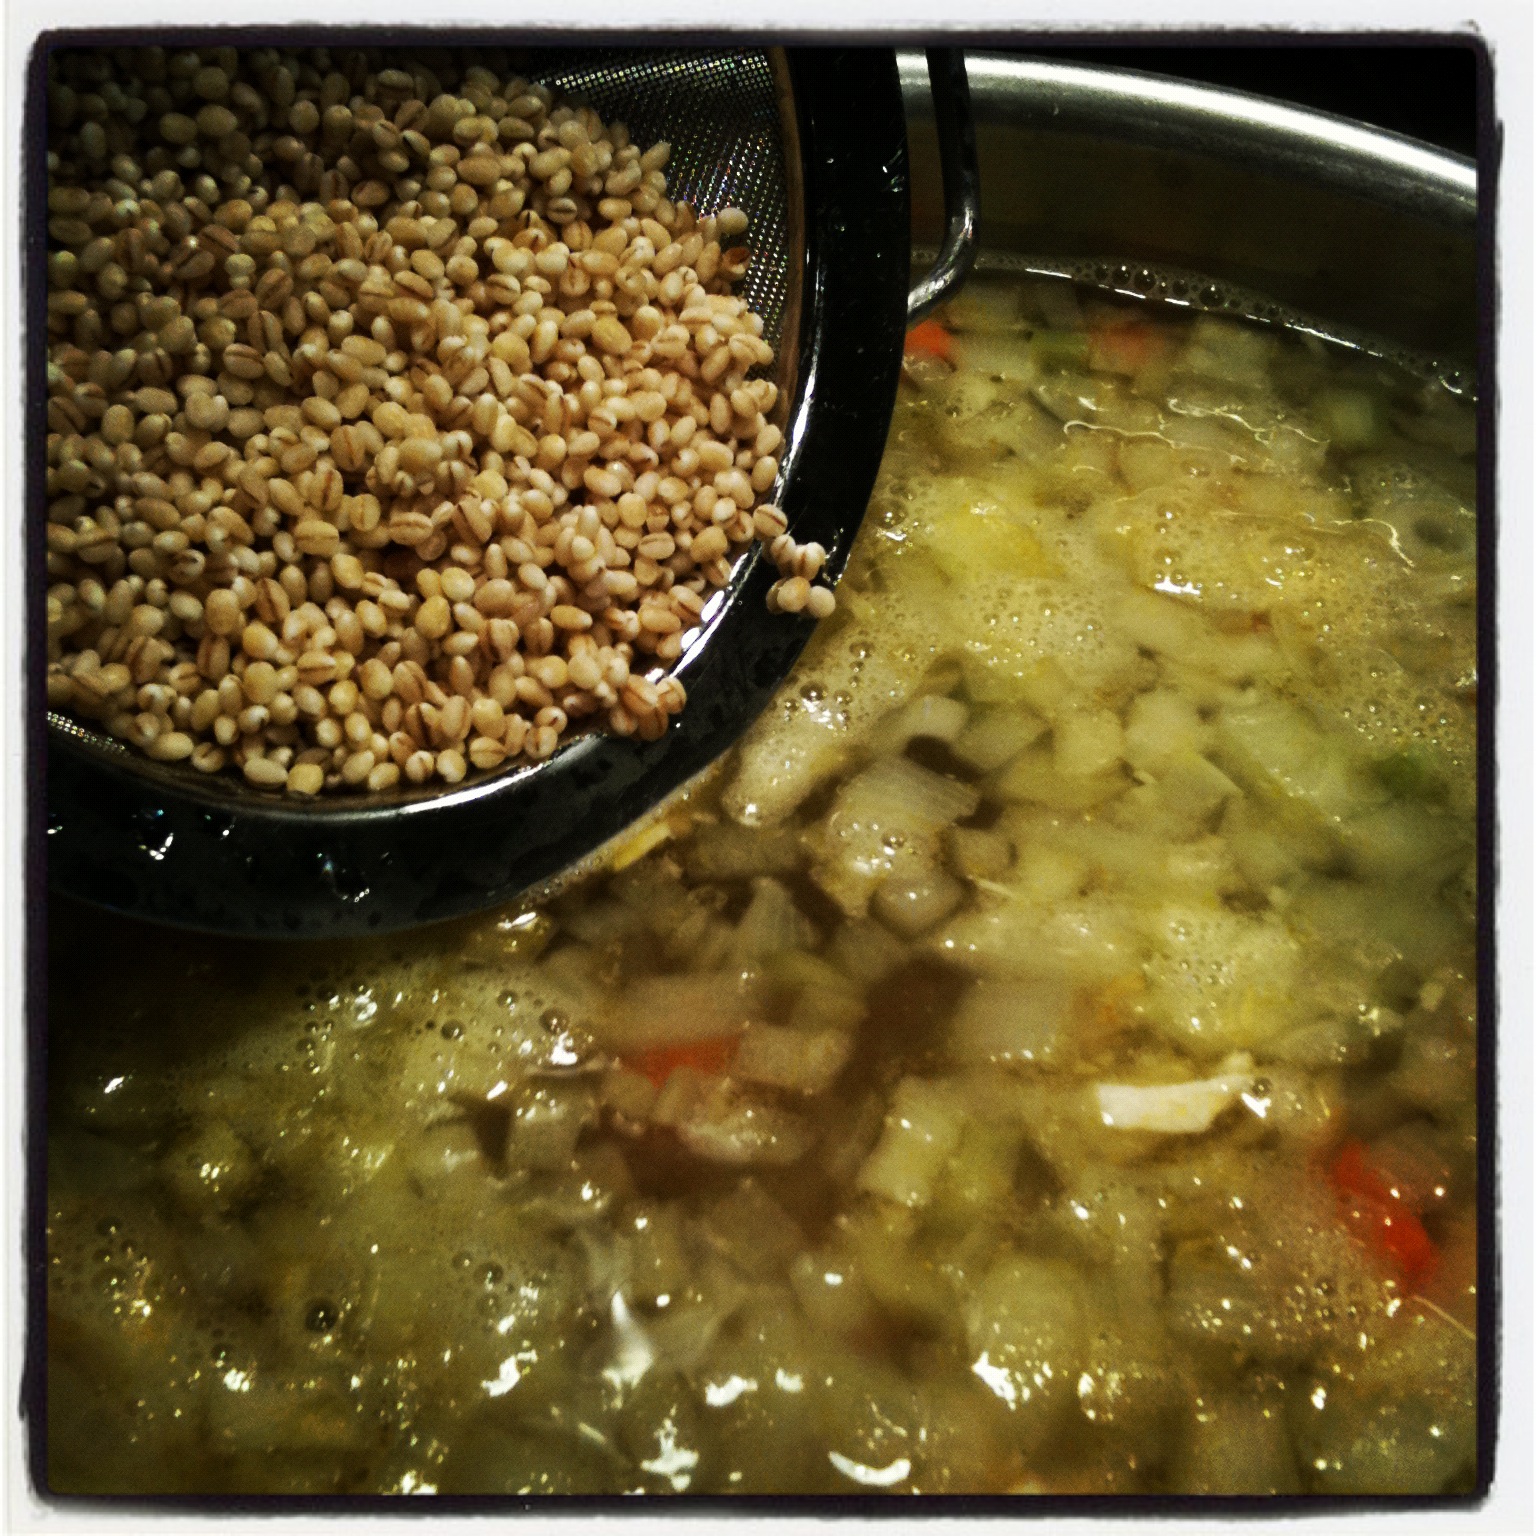
Add 1/2 to 3/4 Cups of pot barley (rinsed and drained).

[I added the barley to my larger pot.]

Or maybe you would  like a combination?

Adding a cup of Pasta is another option.

Add chopped turkey meat.

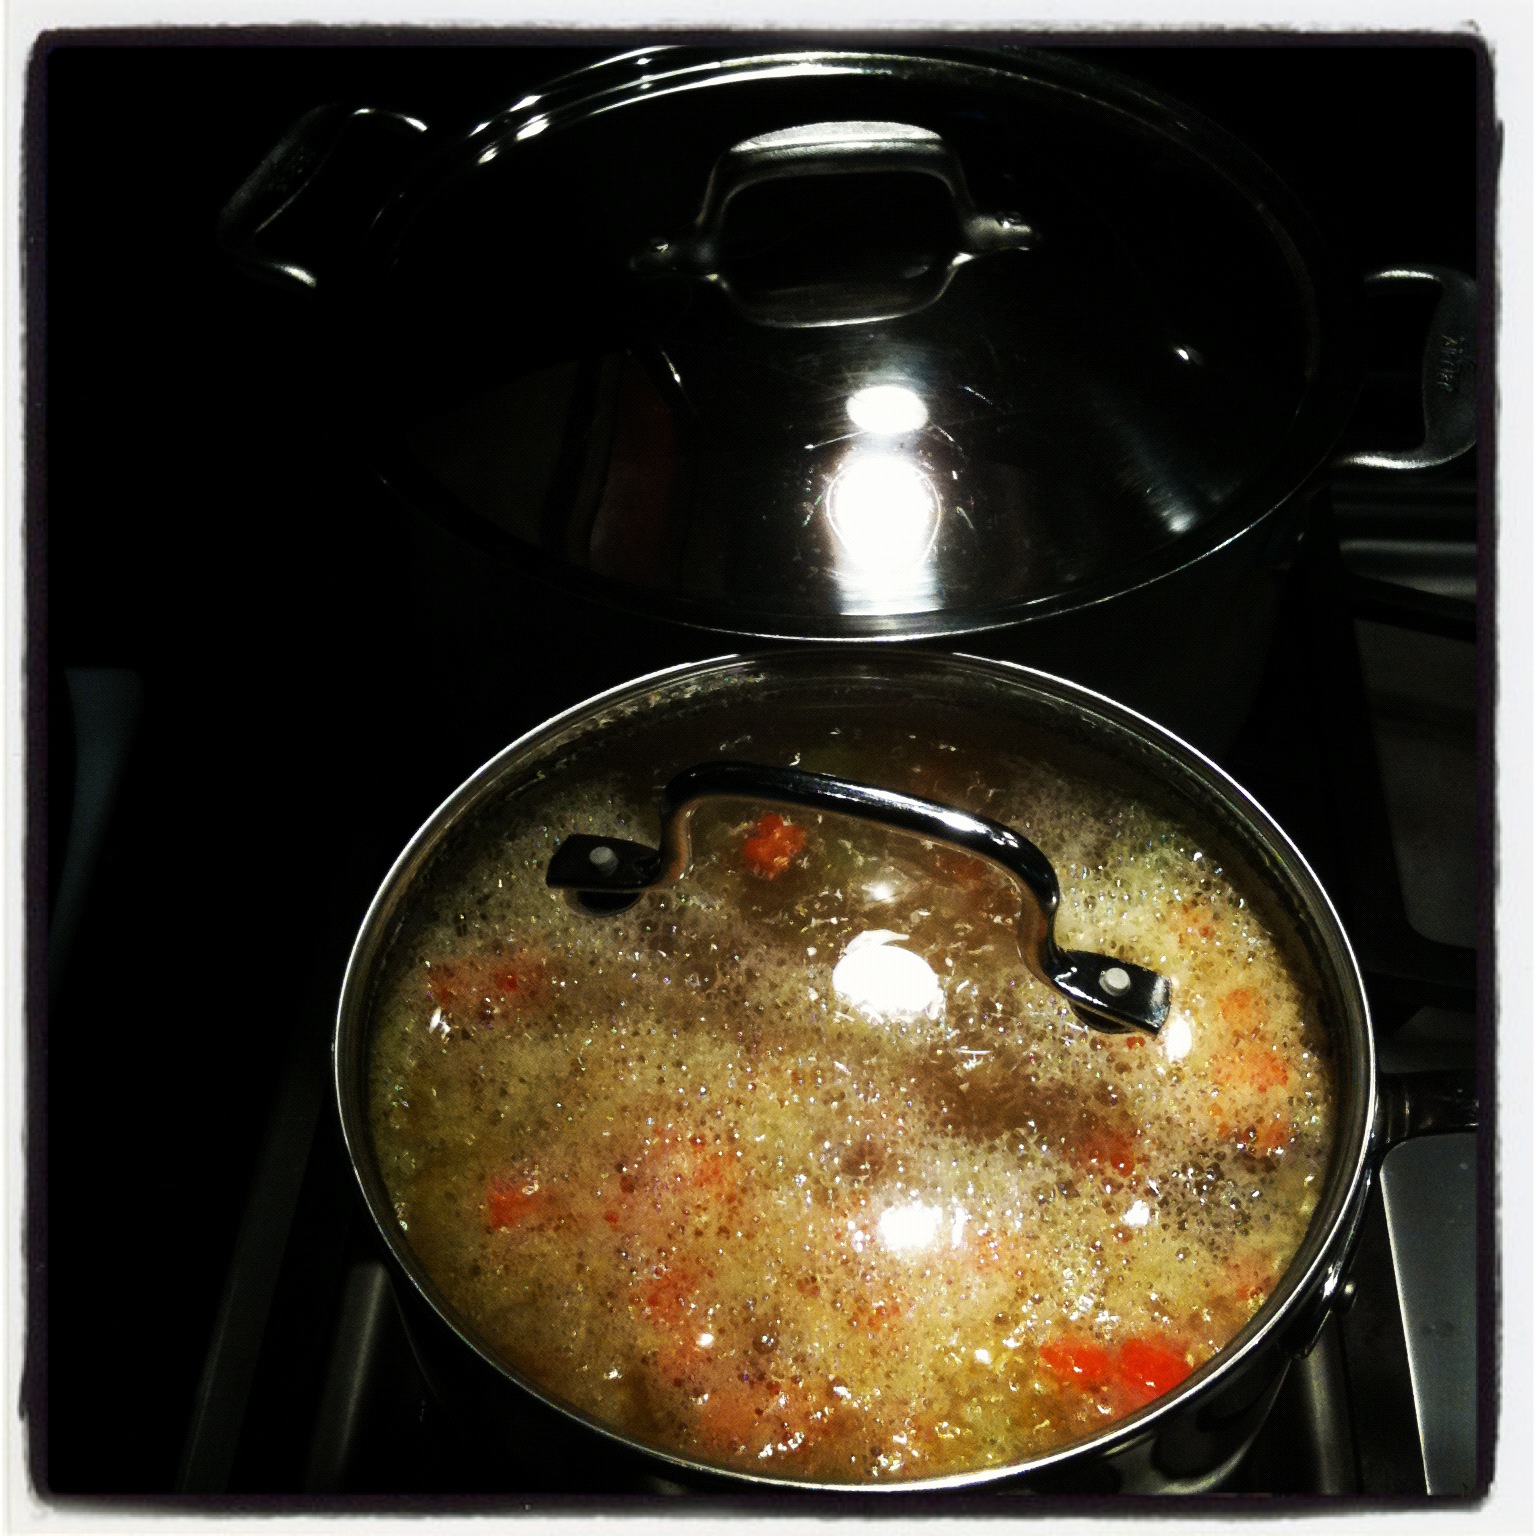
 Cover. Simmer for 45 minutes.

(until rice or barley is cooked through)

ENJOY!

I find that when I reheat soup on the stove the next day it tastes even better,

rather than reheating it in the microwave.

This soup freezes well.

Be sure to cool overnight in the refrigerator before transferring to plastic freezer containers.

Homemade Turkey Stock

Carrots of many colors.

So, you have roasted your Turkey and it turned out beautifully.

This is a beginners guide to making homemade Turkey Stock.

I have been making my own stock and homemade soup for ten years, but last year I came across Ginny Love’sSimply Love – A Family Cookbook. Since then, I’ve been following her recipes for homemade Stock and Turkey soup. The rest of the book looks great, but I just haven’t spent the time exploring the other recipes yet.

Kitchen Supplies:

  • Large Stock Pot with a lid
  • Stainless Steel Bowls (or other)
  • Very Fine Sieve
  • Containers for storage and freezing

Ingredients:

  • 1 to 2 onions, cut ends off, keep skins on, cut into quarters
  • 2 carrots, un-peeled, ends cut off, cut in two
  • 2 stalks of celery, ends cut off, cut in two
  • 2 bay leaves
  • 10 – 20 peppercorns
  • Cold water

I used to get really irritated when following recipe instructions; two carrots – does that mean two big carrots or two small carrots? Couldn’t the author just say one cup chopped carrots? My rule of thumb is that if I like a lot of something, I include more of it. Now, with experience and practice I find it all balances out nicely.

Warning: You may get pot envy. I got this pot a few years ago – it’s actually a pasta pot, but works so well for stock. It is a Stock Pot with Steamer Insert. So once the stock is ready and cooled slightly, I can lift the steamer insert from the stock pot, and voila! Let the stock cool down before replacing the lid and putting it into the refrigerator overnight. So easy.

Once you have carved away and refrigerated all the succulent meat from the bones

you will be left with the carcass.

 Place the carcass into a large stock pot. Below.

Add to Stock Pot:

 10 – 20 Peppercorns.

1- 3 Bay Leaves, depending on size.

Add to stock pot:

1-2 washed Onions, leave skins on, cut away ends, cut into quarters

and washed un-peeled cut carrots and celery.

The onion skins add colour to the stock.

Place stock pot into the sink to fill with water or transfer water using measuring cups.

Add enough Cold Water to the Stock Pot to cover carcass.

If you are using the steamer insert be careful not to over fill with water

as the water will spill out over the side of the stock pot once it starts to boil.


Notice the height difference of the steamer insert to the stock pot. Below.

Place on High Heat to bring to a boil.

Reduce heat to simmer for 45 – 60 minutes.

Below, shows the contents of the steamer pot after cooking.

In the picture, I have lifted it away from the stock.

Discard the contents from the steamer pot.

Let it cool first.

Below. This is what the stock looks like after taking the steamer insert out.


Below, the chilled stock after being in the refrigerator overnight.


I use a big spoon to skim off the congealed fat which has risen to the surface.

Then with my other Soup Pot sitting in the sink

and a very fine sieve sitting over the top of the pot,

I slowly pour (in batches) the chilled stock.

In the picture below, I used the finer of the two sieves.

I have a few very large stainless bowls which I use to transfer and strain the stock a few more times.

Some people use a cheesecloth to pass the stock through to make it very clear.

I find my very fine sieve works nicely.

Above, the total amount of Turkey Stock.

The container with lid went directly into the freezer.

The rest of the stock went towards the Turkey Soup.

I make two different batches:

One batch with Barley (for my husband and son)

– which is my favourite but NOT gluten free 🙁

The other batch I make with brown rice for me and my daughter.

I will post the instructions for THE best turkey soup you’ve ever tasted…soon.

Roast Turkey

This post is for anyone who has never roasted a Turkey.

It is really easy once you do it a few times and gain some experience – much like learning a new exercise! Repeat, Repeat, Repeat.

I used to think I was a lousy cook, but I just never gave myself a chance. I’d try something once or twice and if it didn’t work out I figured that I just wasn’t cut out for cooking. But, I’ve learned that finding the right recipe is more than half the battle. I often chose recipes that looked amazing – some complicated, others simple but if the flavours didn’t appeal to me, then in the end it would feel like quite the disappointment, a waste of time and waste of ingredients. Now, from reading a recipe I know if it’s worth the attempt. And I’m figuring out how to use a recipe as a template and work with the ingredients that are compatible for me.

But really, the entire point of roasting the turkey is to be able to make homemade turkey stock – to make the best turkey soup you’ve ever tasted! Really, before Winter comes to an end you will want to learn this and be ready for next Fall.

First make sure you have all the necessary kitchen supplies at hand. Lay everything out ahead of time – like a cooking show – it really does make everything run that much more smoothly.

The kitchen supplies and preparation:

  • Washed sink and surrounding work surface clean and clutter free
  • Cutting board
  • Pre-cut paper towels
  • Roasting Pan
  • Roasting Tray (which fits inside roasting pan)
  • Turkey baster (optional)
  • Aluminum Foil (oiled)

After Roasting:

  • Large Platter or Carving Block with grooves for catching cooked turkey juices
  • Tea Towels

Ingredients:

  • Turkey! (in this example I used a 13.26 lb. Turkey)
  • Remove Turkey from refrigerator approximately 1 hour prior to the time you want it in the oven to ensure that it won’t be too cold going into the oven
  • 1 tsp. Salt + 1/2 tsp. Freshly Ground Pepper set aside in bowl (more or less depending on preference)
  • 3 to 4 Tbsp. melted unsalted butter (I used Ghee)
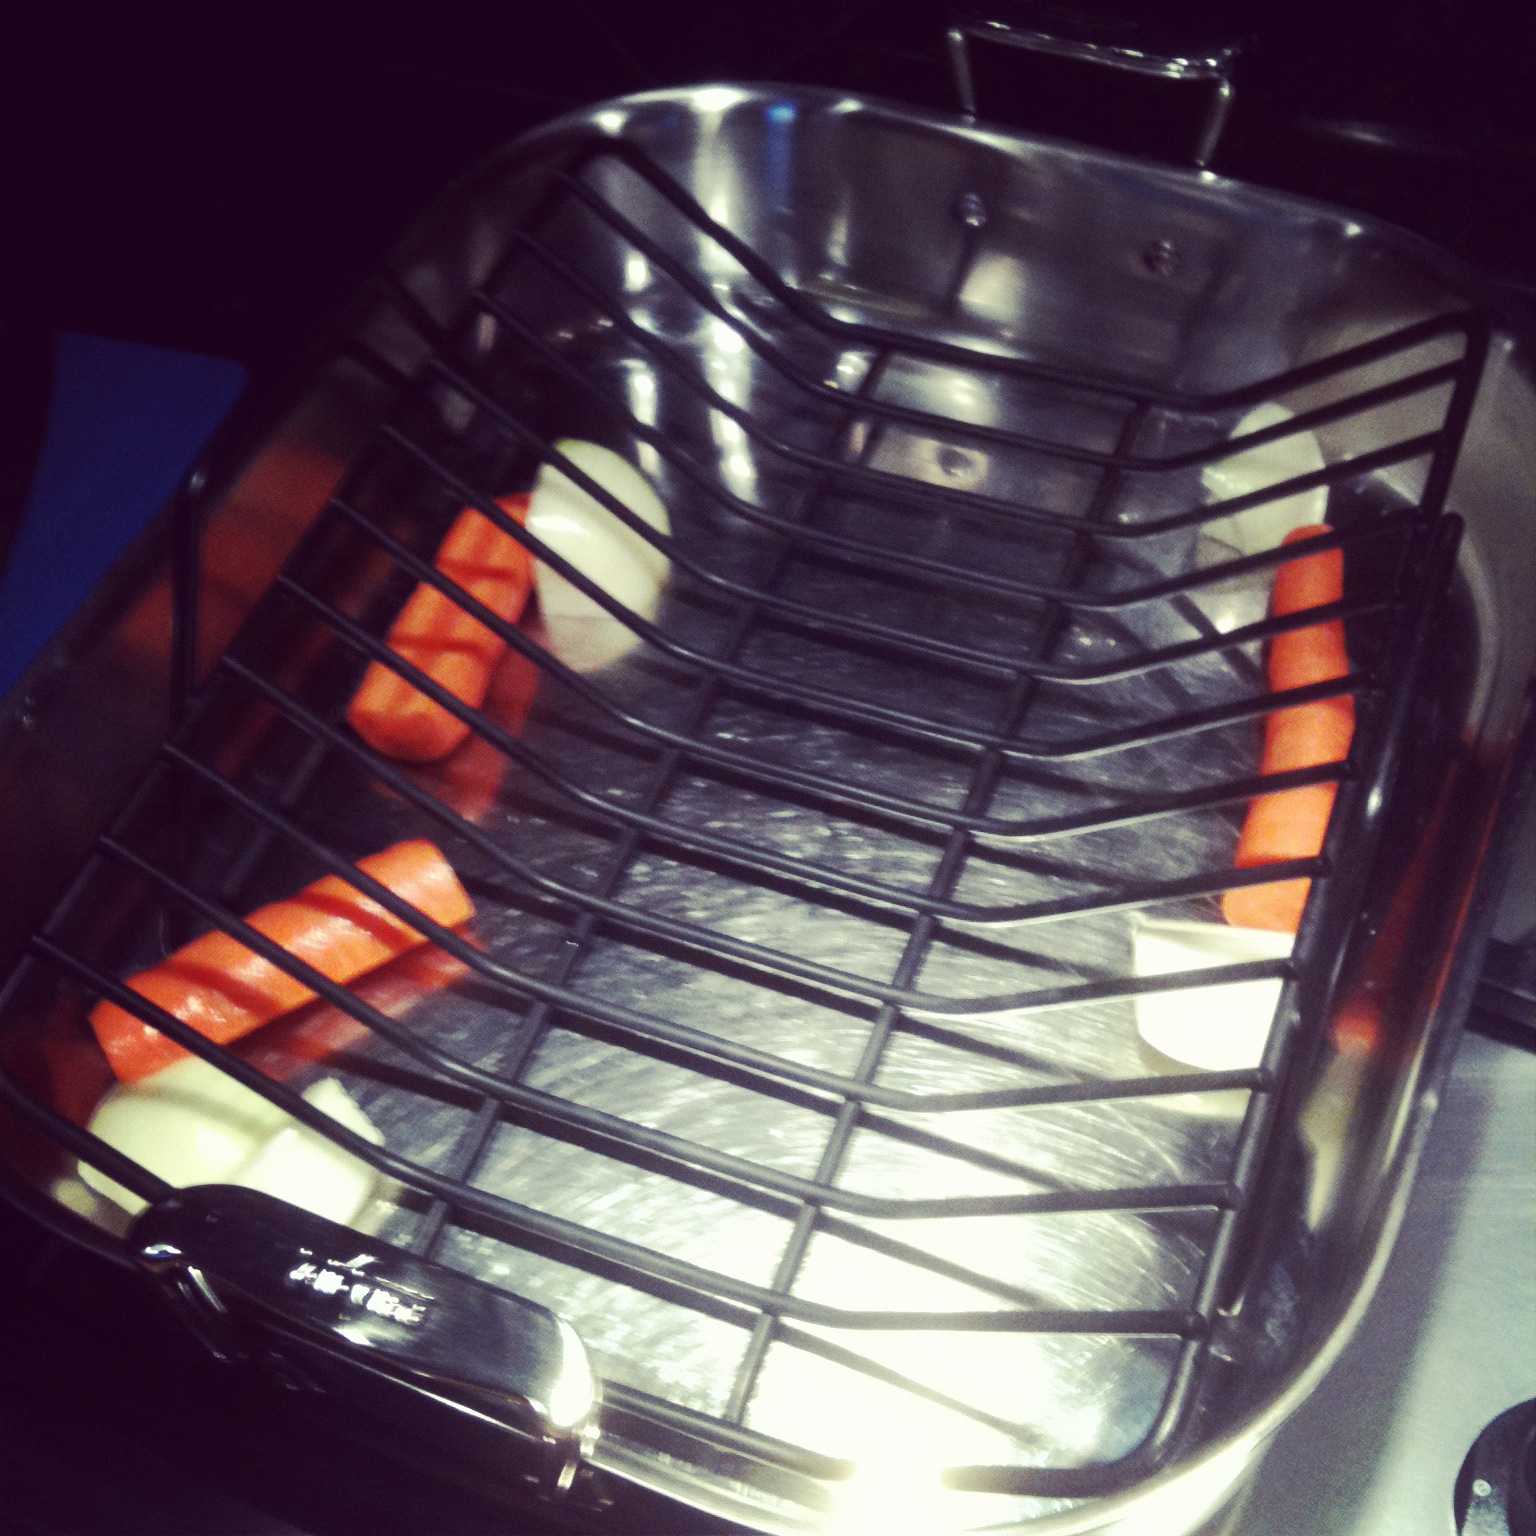
  • 1 onion, washed, cut into quarters keep skins on – cut & discard ends – Place into the Roasting Pan (optional)
  • 1 large carrot, washed, cut in half lengthwise – keep skins on – Place into the Roasting Pan (optional)

How To:

Preheat Oven to 425 F.

With a garbage can by your side, place Turkey (which is still in it’s sealed bag) into the clean sink. Remove the Turkey from the bag. Turkey is now sitting in the clean sink. Discard the bag to the garbage.

If your Turkey has the neck in it’s cavity, remove, rinse and dry it. Place the neck into the Roasting pan to the side of the roasting tray – along with the carrot and onion. You  won’t be eating the neck, carrot or onion – rather they will provide nice flavour for the gravy – later.

Inside the Turkey’s cavity you may also find a plastic bag holding the giblets (the heart, liver and kidneys)…I discard these along with the outer bag.

With cold water, rinse the Turkey well, inside and out. Be sure to drain all the water from the cavity before placing it on the paper towels which are covering your clean counter or cutting board.

Dry the Turkey well, inside and out with paper towels. You won’t see any pictures of this…sorry, you’re on your own. Try not to splash your entire kitchen in the process. And make sure to not leave any paper towels inside the cavity! Double check.

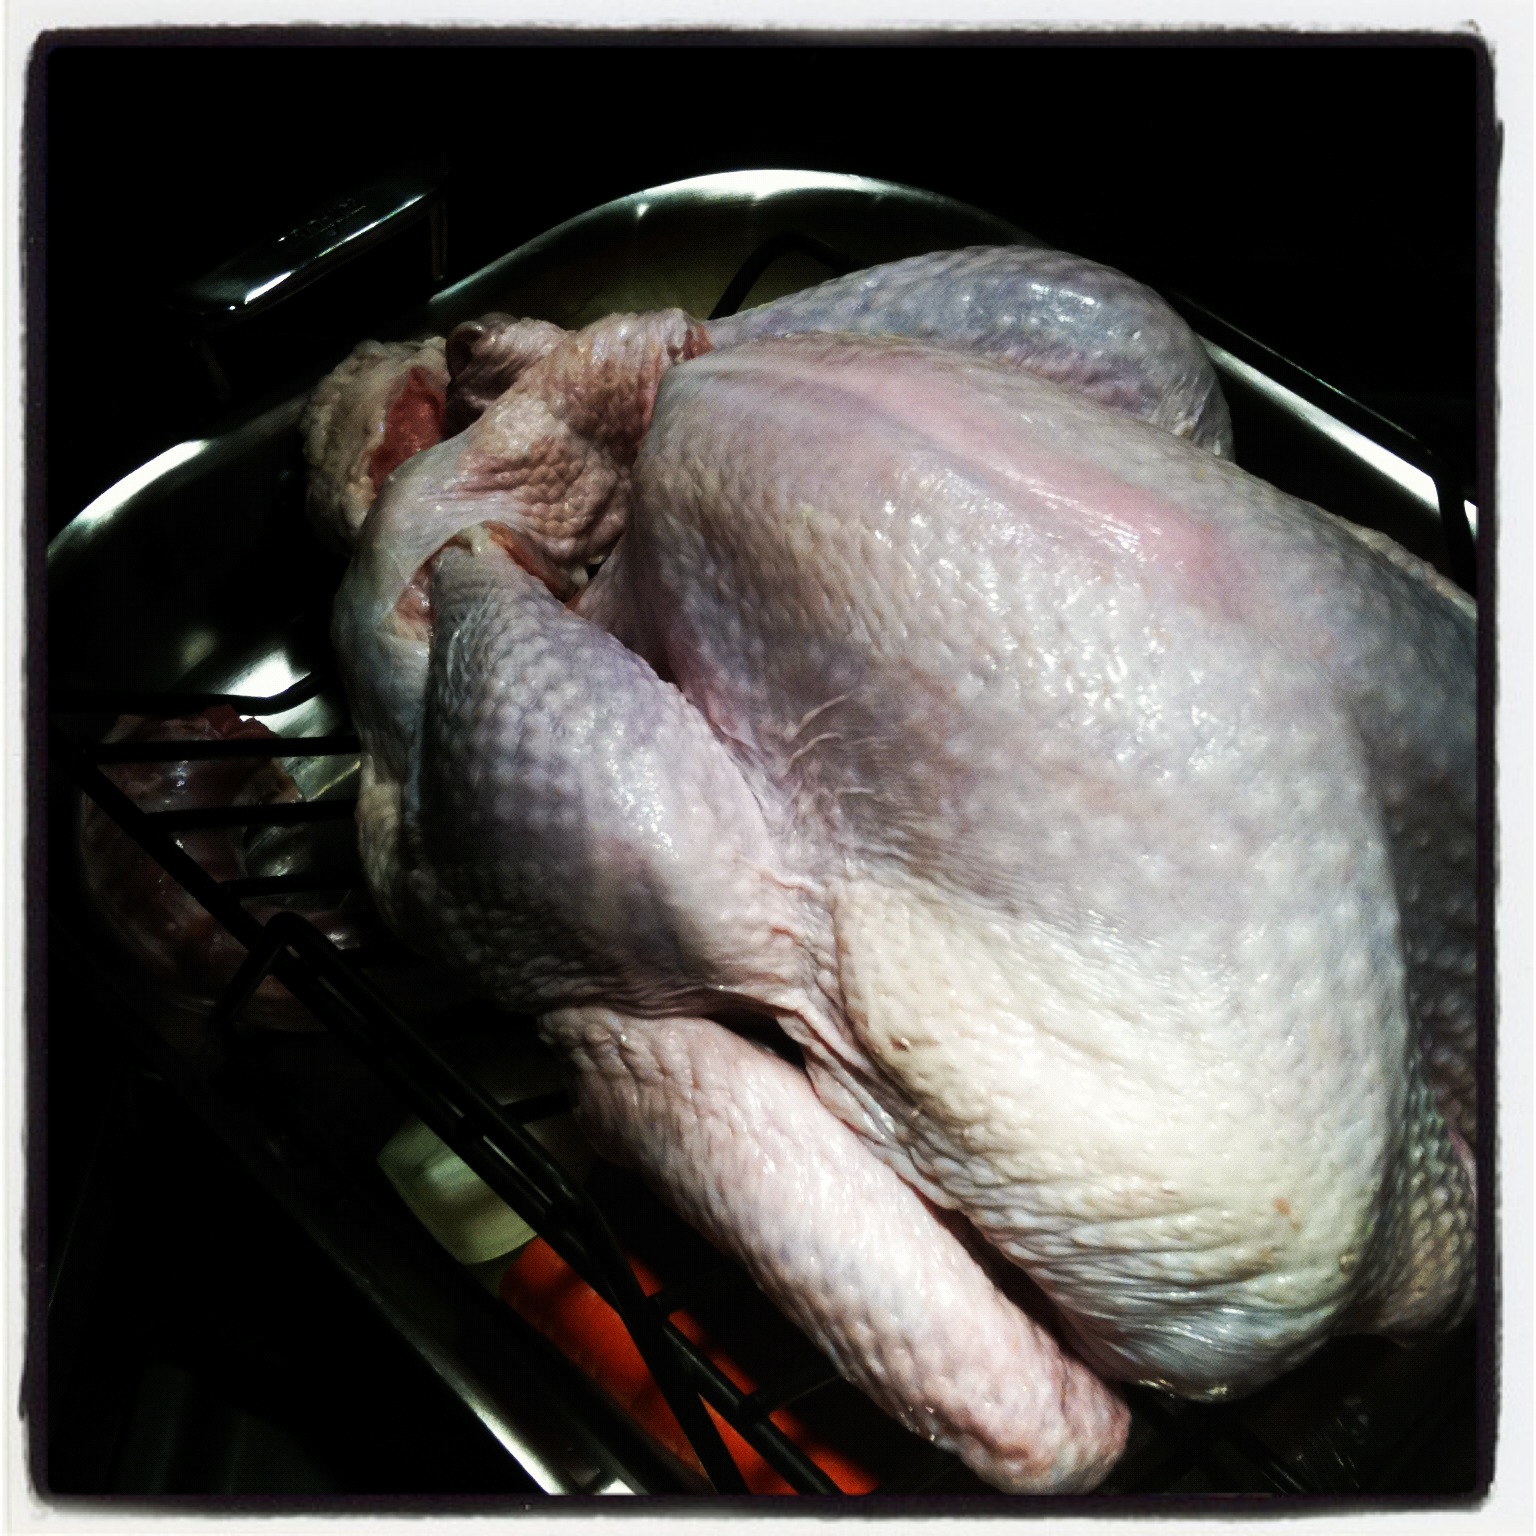
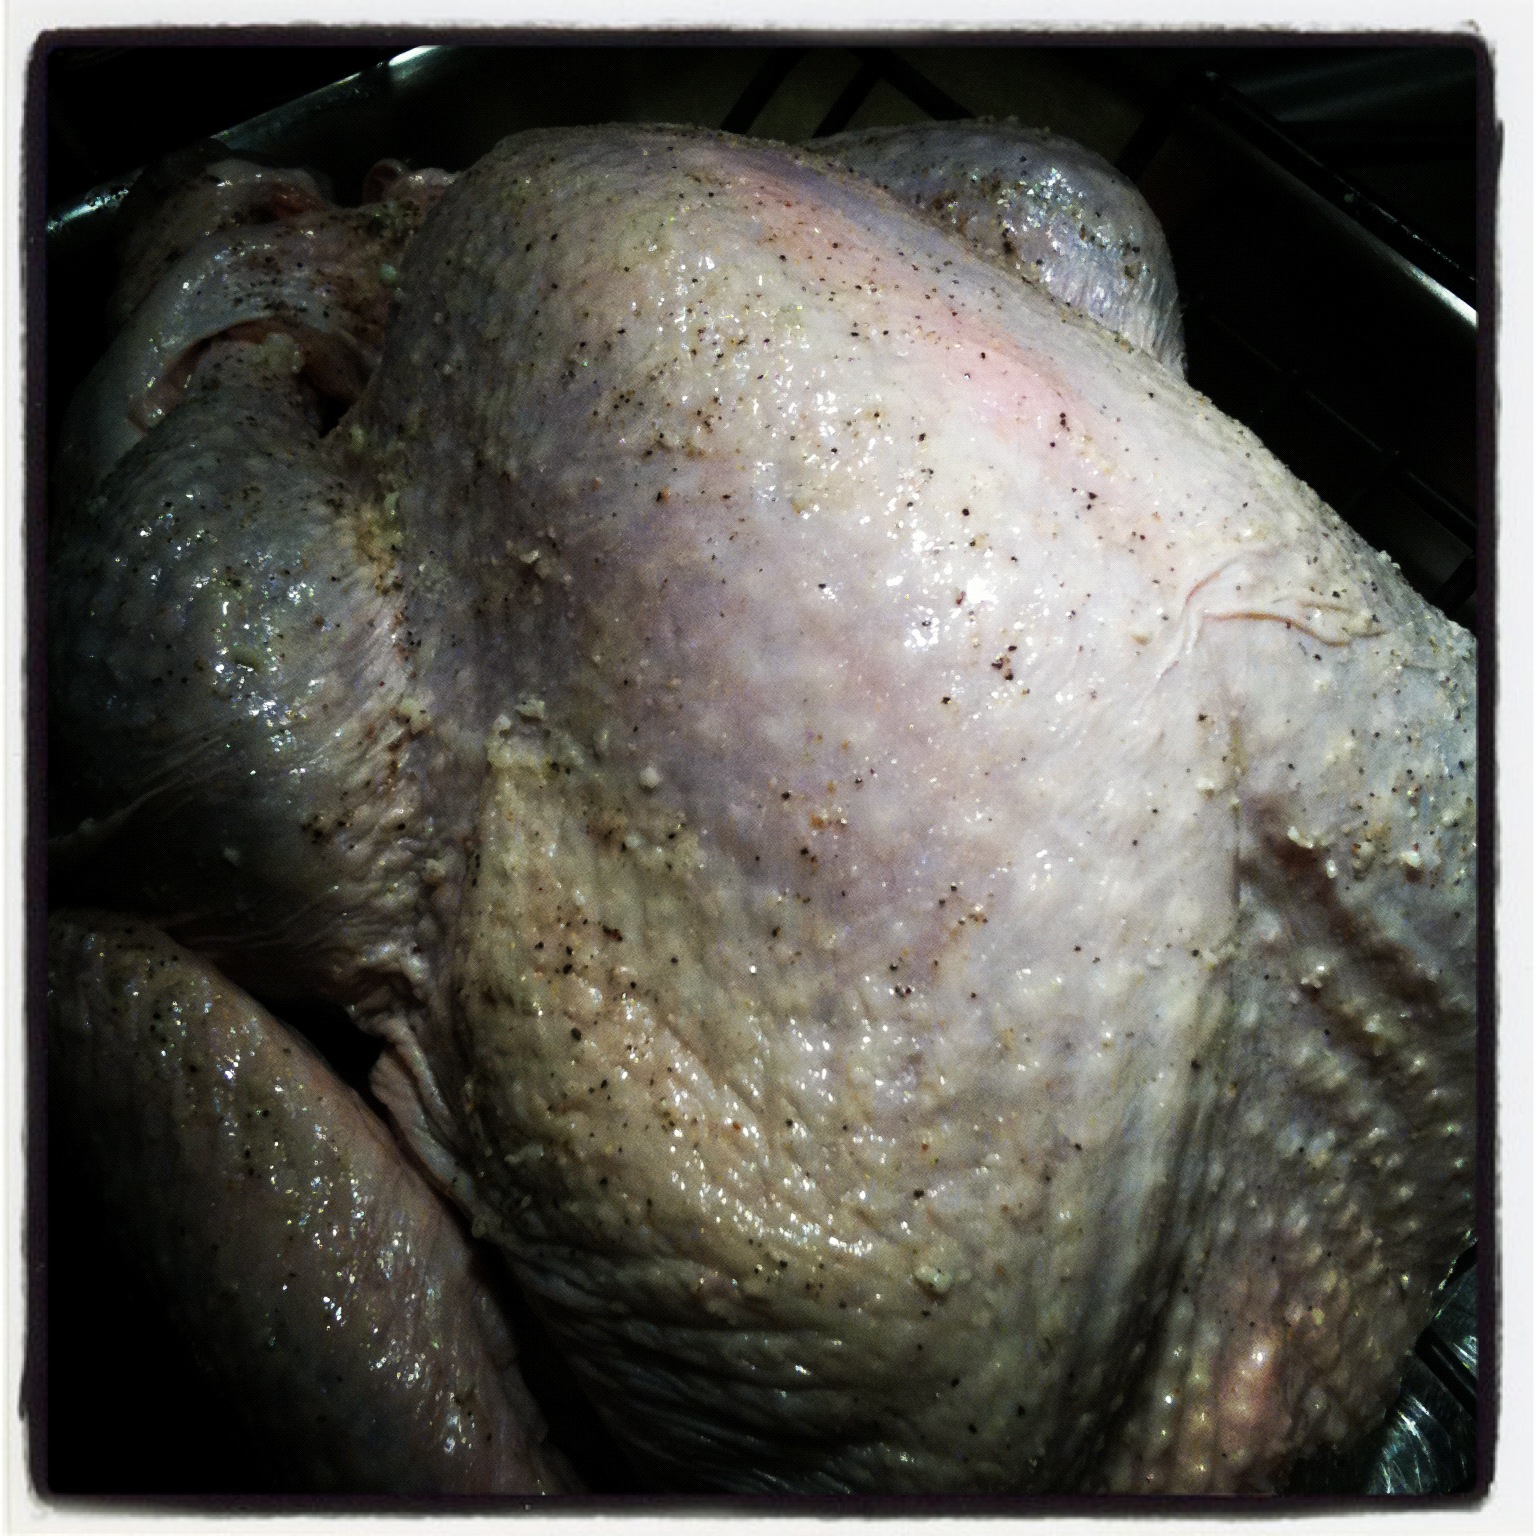
Once dry, I find it easier to just place the bird on the tray.

Rub the melted butter all over the outside of the Turkey. Try not to let it all run into the pan! Your Turkey will still be cold from the refrigerator, so the butter will harden slightly as you rub it on – that’s ok. Then, rub some of the salt and pepper all over the outside of the Turkey and into the cavity. You can experiment with different herbs – this time I forgot to add any – but you can add fresh sage or a few rosemary sprigs into the cavity.

That’s it. Now it’s ready to go into the oven.

I lightly sprayed the shiny side of a long sheet of aluminum foil with Canola Pam.

Then I tented the foil over top of the Turkey (oiled side on bird), trying not to let the foil sit on the Turkey – hence ‘tent’. The oil is to help prevent the foil from sticking on the skin should the two come in contact.

Oven Instructions:


  • First 45 Minutes at 425 F.

  • Then lower the temperature to 325 F for the remaining time.

  • For this Turkey, it was 2.75 hours @325F.

General rule is 15 Minutes per pound unstuffed and 20 minutes per pound stuffed. But everyone you talk to will have a pattern that works for them. So far this has worked wonderfully. The skin gets nicely browned and crispy (though I don’t eat the skin – looks pretty though). You may want to pull the roasting pan from the oven periodically to check on the turkey and baste it if necessary. This size of Turkey roasted perfectly on its own. I didn’t have to baste it.

Take the foil ‘tent’ off the Turkey one hour prior to the end of cooking, depending on how the skin is browning. Reserve the foil for later. If it’s looking like it is getting too dark then you may decide to leave the tent on. Experiment.

Place a platter or carving block with grooves for catching the juices onto the counter beside the stove top. Once the Turkey has finished roasting, place the roasting pan onto the stove top elements. Transfer the roasting tray on to the platter or carving block. Cover the Turkey with the foil used for tenting, plus another piece if necessary then cover the foiled turkey with a few clean tea towels to keep the heat inside the bird. Let the Turkey rest for at least 20 minutes before carving. The resting time allows for the juices to settle back into the meat, which is what you want. Make sure the tea towels don’t fall into the platter or carving board – the towels will absorb any juices that can be poured into the gravy.

Juices from the Turkey should have dripped into the roasting pan. Remember to discard the onion, neck and carrot from the roasting pan. You will have a nice collection of fat and juices for gravy. I’ll have to show you that another time. It’s pretty easy to make the gravy.

Below, is the amount of Turkey I was able to cut away. Each of these glass dishes holds seven cups! We ate some for dinner that night, and most of the leftovers was reserved for Turkey Soup.

Now you’re ready to make the turkey stock. But wait till I post those instructions before you run out and order your turkey! Coming soon!

You’ve Got 8 Minutes Workout

My son was home sick from school today, which changes a mothers’ schedule somewhat – actually quite a lot.

We all have to adapt to the fluctuations in our schedules, so adapt I did. I converted the 14 Minute Workout I had planned for today into an 8 Minute Workout. Not only do we need a repertoire of different workout combinations but ones of varying duration, for days like these.

8 Minute Workout 

Part 1: 4 Minute Countdown

Complete as many sets of this combo as possible with precision:

Funny, I put this combo together, then noticed it was very similar, (not exact) from Bodyrock’s so you can click here to view the combo to get a feel for it. In my version there is one push up and important to note the complete squat movements between each transition. This combo can be done without a sandbag, bodyweight only.

Start holding Sandbag with parallel grip throughout combo.

Squat down place sandbag on floor & Jump to Plank

+ 10 Mountain Climbers

+ 1 Tricep Push Up (flex arms parallel to body)

+ Jump Forward to Squat

+ Clean Sandbag to chest (finish clean in a squat) [here is a link which shows how to do a clean – just ignore the Bent Over Row part in the link]

+ Sandbag Overhead Press simultaneously Lunge Right Leg Back

+ Lower Sandbag to Chest simultaneously returning Right Leg to centre Squat

+ Sandbag Overhead Press simultaneously Lunge Left Leg Back

+ Lower Sandbag to Chest simultaneously returning Left Leg to centre Squat

From Squat Lower Sandbag to Floor

This equals ONE set. Repeat from the beginning until the beeper sounds.

I completed 14 Sets in 4 Minutes.


Part 2: 4 Minute Mixed Tabata

6 Rounds of two intervals: 10 seconds Rest + 30 Maximum Effort

Repeat this sequence three times.

1. Skipping High Knees: 81 – 80 – 78

2. Lying 6-Inch Leg Raises: 16 – 17 – 16

(Lying on your back, legs outstretched, hands under pelvis -palms down, to round the lower back into the floor by tipping the pelvis – pubic bone pops up. Upper body sustains quarter crunch throughout. Raise legs about 18 inches off the floor – using the abdominals – the lower back should not pop off the floor. Lower the legs by 6 inches then back up to the original start position. Repeat lower legs by 6 inches, raise legs up to original start position etc.) If this is easy then you’re probably not doing it properly. Ensure not to distend your abdominals -draw them inward and do not use psoas.English: At sea aboard USS Bataan (LHD 5) Sept...

Beginners should do crunches instead. Or just practice the upper body crunch with hands under pelvis as described keeping feet on the floor – practicing to press the lower back into the ground without distending the abdomen. We can all benefit from practicing this.

Cool down with 4 x 100 skips w/ rope (legs parallel & glued together).

45 minutes Ashtanga Yoga Standing series [always including A&B] and first 12 seated postures – a few vinyasa + 3 Backbends + close).


It’s All in the Timing

“Until you value yourself,

You won’t value your time.

Until you value your time,

You will not do anything with it.”

M. Scott Peck

I think timing is important.

Time is of the essence…

The timing of the punch line…

“Time keeps on slipping…into the future…”

In my mind, the key to living a well-rounded, balanced life comes down to timing.

For me it’s a work in progress. Some days I feel like I’m really beginning to get the hang of handling this busy life and other days I feel as though I’ve completely dropped the ball and have to rethink my entire strategy.

Timing our daily tasks should be simple enough, one would certainly think so after having two to four, if not more decades of practice. You’d think! So why is it that every January, suppliers and manufacturers of fitness equipment and videos have a booming business? A booming business for something which are basic life skills that we should have been taught and been well versed from day one? This is why I suggest that we focus on Daily Body Maintenance as a lifelong practice as opposed to viewing it as a resolution. We can’t wait till every January to eat or we won’t be alive. So, why do we wait till January every year to make a resolution to focus on our health and fitness and then stop within 90 days? There are a lot of things that we should be more punctual with – but aren’t. Such as house maintenance. Have you seen those advertisements for soap scum remover? Who lets their house get that dirty that they need a jack hammer of chemicals to break through to the tile below? If we stay on top of what needs to be done in a timely fashion then everything takes less time. I know this…I’ve been experimenting.

In order to eat well and exercise daily, I believe we need to focus more on timing our tasks. It’s really simple if we become consistent with one step at a time; master it and only then, add on. Rather than biting off more than we can chew, we need to set ourselves up for success.

For most families, the end of the day is a very hectic time, with kids’ afterschool activities, homework, dinner and bedtimes. In order to get my workouts done I have to schedule them into my morning after I drop the kids to school. I have had to develop a well timed pattern.

Time is what we want most, but what we use worst.

William Penn

In order to have an effective workout, I have to be well nourished. I start my day with a very healthy breakfast. I would NEVER consider exercising without being well fuelled and hydrated. This also means that I have to leave enough time to digest prior to my workout. This has to be well timed and it comes with practice. If I eat breakfast at 7:15- 7:30 am, I will be digested and ready to do my workout by 8:45 – 9:00 am. If I get side tracked and don’t start my workout at that time (being delayed till 9:30 or 10:00), then I will forfeit my workout until after digesting my next meal. Generally, if I don’t do a workout I would be eating my second meal of the day by 9:30 – 10:00 am. Once I pass my ‘workout window’ of opportunity, I can feel my energy drop, I feel hungry and know that I will have to refuel in order to actually gain something positive from my workout. Working out on empty is a useless practice. (However, working out first thing in the morning seems to work well for a lot of people).

You see, it ALL comes back to timing.

 Naturally, we need to think and plan ahead to be able to:

  • Do a 4 Minute Morning
  • Make breakfast and get the household moving in the morning
  • Get anywhere on time; schools, appointments, activities etc.
  • Eat a well balanced meal
  • Digest enough before physical activity
  • Time water intake throughout the day
  • Stretch periodically throughout the day
  • Plan the grocery list
  • To be able to make dinner on time
  • To make enough to have leftovers
  • Time the loads of laundry
  • Stay on top of various household chores
  • Anticipate tantrums and scuffed knees…
  • Be able to do an evening stretching routine
  • …so that we can spend our time wisely.

Time is the coin of your life.

It is the only coin you have, and only you can determine how it will be spent.

Be careful lest you let other people spend it for you.

Carl Sandburg

To not always feel like we’re running to catch up. Running out of time.

I must govern the clock,

not be governed by it.

Golda Meir

Sure the “inbox is meant to be full”. That’s what life IS. Timing how we live our life is an art.

It’s not about trying to clear out the inbox; in fact, a great life suggests an inbox that is plentiful. It’s the outbox which should be continually cleared out.

Finish the projects. But keep starting new ones; being creative is essential. Some projects are short term, while others are daily and life-long, like our daily body maintenance.

If you don’t have time to do it right, when will you have time to do it over?

John Wooden

If you look at how some of the most successful people time their day, they are going non-stop and continually starting up new projects – that fail or succeed – it doesn’t seem to matter. What seems to matter is that the creative juices are flowing. The Wall Street Journal published an article a few weeks ago about Martha Stewart’s day. Click here.

She’s up at 4:59 am and goes all day. She has a personal trainer that she works with first thing in the morning and has a mid day yoga lesson. Martha scores big points with me for looking after her physical being. However, I don’t think she gets enough sleep. Take a look at the article…and I thought I had a lot on my plate – she’s busy. No question, she has got timing her day to an art.

Someone out there will surely say: “Well, if I had a all her money and a personal trainer, I would be in shape too.” But that’s another conversation…

Today’s Time Challenge

When I first mentioned to friends and family what I wanted to accomplish with this site, I got a mix of reviews. I said that my goal was to help people to better understand how to exercise properly. Some told me that it wouldn’t work because “people” don’t want to know how to do things – they don’t want to spend time learning how, they just want the quick fix…show them what to do but forget about teaching them anything.

This hurt.

I didn’t want to believe this. And I don’t. I do realize that for many this may be true, but now, since having started this site I know that there are many who do want to know how and are willing to spend the time on learning. Even if this were to reach only one person, I will keep sharing.

Today I did Zuzka Light’s ZWOD II workout but made a modification to suit me. I find that a lot of the workouts I follow incorporate too many plank type exercises for me. You will understand what I’m talking about if you’ve read my post on how doing too many push ups can have a negative effect, click here.

In any case, the main thing is to find a way to get motivated to move and stretch our body daily, but equally important not to throw caution to the wind and do things mindlessly, just because someone says so.

Just because you CAN do something, doesn’t mean you should.

We need to practice mindfulness and choose wisely.

Yes, I can do a lot of push ups, but that doesn’t mean I should do an excessive amount in one workout. I show my modification in grey (what I did in place of the 10 twisted push ups).

I had been doing house cleaning prior to my workout, while digesting my lunch – got to make the most of my time! So my official warm up was only 5x flights of stairs by two’s going up + single steps going down + light active stretching.

ZWOD II  – My modification in grey.

Complete three rounds for time. I finished in 15:54.

1. 5 Man Makers (I used pair of 10 lb. dumbells)

2. 20 Low Burpee Hops

3. 10 Twisted Push Ups

3. 5x [10 Reps Kick Ups + 1 Pull Up] (forward grip)

4. 25 Competition Sit-Ups

click here to see the video and how to do the exercises.

Exercises #1, 2 & 3 all involve a plank position. Recruiting the same muscle groups. For me this would have been excessive to have repeated three rounds.

Exercise #4 is a great choice because by dropping the knees out to the side with soles of the feet together (butterfly), the effect helps to cancel out the Psoas muscle. When we do a classic full sit-up, once we pass the crunch phase (the first quarter of the movement) the Psoas then engages and does the work to haul the torso up to sitting; this is not ideal since most people have chronically tight Psoas. In order to do this Competition Sit-Up exercise properly and effectively, it is important that the spine (especially at the lumbar region) be flexible enough to round into the ground as the body curls up to sitting. If the lower back (lumbar region) flattens out then I would advise the individual to stick with 1/4 crunches and work on increasing the flexibility of the lower back and psoas.

4 x 100 skips w/ rope to cool down.

40 Minutes Ashtanga Yoga Standing Series (including first 12 seated postures – no vinyasa – +3 Back bends + closing sequence)

People who cannot find time for recreation are obliged sooner or later to find time for illness.

John Wanamaker

My 12 Minute ‘Kitchen Sink’ Workout

English: Kitchen sink drain Deutsch: Abfluss i...

Today’s 12 Minute ‘Kitchen Sink’ Workout

Today I practice Yoga, but before I start, I like to warm up. And because my workouts are so short I figure that they make for a great warm up! Because I’ve got a lot of things to get done around the house (which I tend to fall behind on regardless) I find that these SHORT workouts help to energize as opposed to deplete. As a result, I find that I have more energy and TIME to do the things that are important to me and my family.

My workouts aren’t an EVENT anymore, they are simply the required set of exercises to maintain my physical body so that I can BE and DO and LIVE.

I felt like doing a 12 Minute workout today but didn’t want to repeat exercises so I decided to follow the Keep It Hard for 12 Minutes template from BodyRock Tv. I wanted to use my sandbag and medicine ball to change things up a bit. Below is what I put together.

I warmed up with 10x flights of stairs. Up by two’s down by single steps. Up + down = 1 x. Followed by some light active stretching.

INSTRUCTIONS:

Set Timer for: 12 Rounds of 10 seconds Rest + 50 seconds Maximum Effort

Do as many reps in each 50 second interval as possible with precision. One exercise for each round, which means you don’t have to revisit that exercise – so go for maximum effort.

1. Chin Ups (Reverse Grip – palms face towards body)    My score: 12

2. Start w/Sandbag on floor between legs. Squat down to lift SB to Right Shoulder + Squat as SB lands on R Shoulder + Straighten up + Squat to Lower SB to floor between legs + Straighten up = 1 Rep – Repeat to Left Shoulder – Alternating shoulders. (Therefore, you do three squats per side to equal 1 Rep) My score: 14

3. Mountain Climbers, My score: 128

4. Straight Arm Hanging Leg Raises (rounding lower back to raise legs up – toes touch top of door frame),               My score: 12

5. Alternating Side Jump Lunges w/ 8lb. Medicine Ball tap down, My score: 37

6. Lying 6 inch Leg Raises, My score: 21    

7. Santana Push UpsMy score: 12

8. Bicycle Abs, My score: 64

9. Dips (using Dip Stand), My score: 10 + 5 assisted

10. Jump Lunges , My score: 35

11. Prisoner Get Up , My score: 9

12. Burpees (includes push up and squat jump),              My score: 12.5

Cool down with 4 x 100 skips w/ rope

+40 Minutes Ashtanga Yoga Standing Series (includes first 12 seated postures –a few vinyasa scattered in today– + 3 Backbends + closing sequence).

After my workout, Stella was up and walking around.

What you have to know, is Stella is an ageing Rhodesian Ridgeback. Come March, she’ll be 15 years old. (That’s ancient for a Ridgeback, who’s lifespan on average is ten years). Her walks, however, aren’t much of a walk anymore – they’re more of a sniff. See picture – notice the snow covered snout. She has become very arthritic and she moves very slowly and cautiously. Her walks take a long time and don’t really cover much ground. She sleeps more during the day than she used to. I send her out throughout the day, just in the backyard to sniff around and to exercise her legs. She’s got to keep moving, just like us. Once she stops practicing getting up and taking the stairs…exactly, she won’t be able to. Same as us.

Her eyesight is going as is her hearing…however, it is remarkable how she can still hear the sound of the treat bag open – selective hearing I think! And some days her walks are just a few meters long, after, which she turns to come home. Luckily, we’re next to the forest so that makes for a lot of interesting smells- if you’re a dog. But in no way are her walks exercise for me anymore. I’m glad that I don’t count on walking the dogs as my exercise. In my view, the dog walks are just a chore – part of our household obligations and Active Living. The dogs’ walk is their daily maintenance – physical, mental and emotional. It’s a big responsibility taking care of another being, which makes it even more important to master the skills of taking care of oneself first!

What did you do today for your body maintenance?

Let me know if you give this workout a try. Because each exercise is done only once, I think that just about anyone can try it – providing necessary modifications are made to suit your level, of course!

WARNING: HIIT is Highly Addictive

A US Marine Doing Pull-ups.

My wise nine year old son asked the other day, “What’s the difference between a habit and an addiction?”  Taken completely off guard, I stumbled for a minute then started to think out loud.

Well, a habit is generally something you do that is good for you, like brushing your teeth after meals or doing your daily body maintenance exercises (got to drive it home while they’re young).  An addiction is generally something a person does repeatedly – usually in excess, which in the end causes them harm.

We came up with a few more examples for each and then left the thought behind. But of course our conversation provoked for me a little blog post.  I’ve said it before, but sometimes we need to hear the same philosophy from various perspectives.  What if our healthy habit of exercise turns into one of addiction? Meanwhile, the opposite is a concern for many…difficulty developing the habit in the first place, more on that another time.

Healthy Habit of Exercise = Increased Level of Fitness, Flexibility, Strength, Endurance, better sleep pattern and food choices, Active Living, etc.

Addiction to Healthy Exercise= Increased Level of Fitness + Chronic Injury/ Pain + Symptoms of Overtraining etc. Click Marks Daily Apple to read more about symptoms of overtraining.

But what if it’s not really an addiction to exercise, but rather enthusiasm?  How do we differentiate?  Well, all of this is obviously subjective – enthusiasm can very easily morph undetected…usually those around us see our symptoms long before we see them for ourselves.

When I first started transitioning from doing my hour and a half long workouts at the gym to doing HIIT at home exclusively, I had a difficult time accepting that anything under 40 minutes would or could be enough.  After a month or so I shortened my training sessions even further to 20 minutes, and because I was getting stronger with each workout and working at such maximal effort, I was ok with the change to shorter workout times.  The short-high-intensity workouts satisfied my ‘workout high’.

But then, there was a time when I had brought the workouts down to 12 minutes and I felt so energized from them that I just didn’t want the workout to be over. So I would do another 4 Minute Tabata to top it up. Or I would do HIIT workouts five days in a row – eager for the next day so I could get my 12 minute workout in.

I only had to do this a few times to realize that I was missing the point of what HIIT could offer.

When I was playing soccer regularly, there was a few times that after having played an hour of fast paced soccer I would then come home to do a short HIIT workout. For me that was the sign that I had crossed the line. Exercising in excess would lead to overuse and injury…I felt them (overuse and injury, that is) knocking at my door. What I ended up doing instead of a HIIT workout was to come home and stretch (Yoga) – a much healthier pattern. Lucky for me I generally only make the same mistake a few times before I change my pattern…unfortunately, there are countless opportunities for making new mistakes waiting for me at every turn.  (Actually, I honestly think making mistakes is terrific, it is our greatest teacher).

Today was another opportunity to listen to my truth and not my ego. Zuzka Light is back on YouTube – Zuzka has been taken under the wing of Darren Copik from Watch It Now Entertainment. She is the original face of BodyRockTv. In September of 2011, Zuzka stepped away from BodyRock to do her own thing (she and Freddy divorced – BodyRock is still going strong under Freddy’s direction and other hosts).

So, I grabbed Zuzka’s first ZWOD (Zuzana’s Workout Of the Day) Bodyweight Only Time Challenge workout, though I had to modify one exercise to suit me. I could have fallen into my old pattern and just used brute force to push through, but just by looking at the line up of exercises I knew that doing 3 Rounds would be excessive for me. So I did 2 Rounds and finished in 14 minutes. Just right.

Here’s what MY version of the workout looks like:

I warm up with 10x flight of stairs (up + down = 1x) by two’s going up + single steps going down (13 steps) + light stretches.

Complete 2 Rounds of the following 9 exercises in sequence as a Time Challenge.

1. Dive Bombers – 10 Reps

2. Burpees – 5 Reps

3. Squat + Side Leg Lift (Alternating sides) – 20 Reps

4. Lunge Back (Alternating sides) – 20 Reps

5. Burpees – 5 Reps

6. Side Plank Lift – 10 Reps Left Side + 10 Reps Right Side

7. Burpees – 5 Reps

8. Pistol Squat – 5 Reps Left Side + 5 Reps Right Side + 5 Reps Left Side + 5 Reps Right Side

9. Burpees – 5 Reps

Cool down with 4 x 100 skips with rope

+ 5 Forward Grip Pull Ups.

Plus 40 Minutes of Ashtanga Yoga Standing Series (including the first 12 seated postures -no vinyasa- + 3 Backbends + closing sequence – no inversions).

Tomorrow I will swim for 30 minutes and do 15 minutes of stretching in the Jacuzzi. I won’t do another HIIT or Yoga till Monday. But, regardless will start my day with stretching in bed (view the Bed Stretches #1 video here), some modified sun salutations – focusing on stretching out hip flexors (iliopsoas), followed by a 4 Minute Morning Week 3 – DAY 7.

Watch the sneak preview of what’s to come from Zuzka Lights new video series:


We all have to start somewhere. And we all have to find the right balance. Whatever you choose, be consistent and be kind to yourself. And most important of all STRETCH your body!

And to see the original workout breakdown and video click here. At :29 seconds there is a pause in the video which shows the breakdown in writing – for anyone who wants to write it out!

What exercise did you do today?